*
Click to Return to RVeCafe Homepage

Re-Upholster the Theater Seats

Return to Caregiving in Lodi  
Click to see What's New at RVeCafe
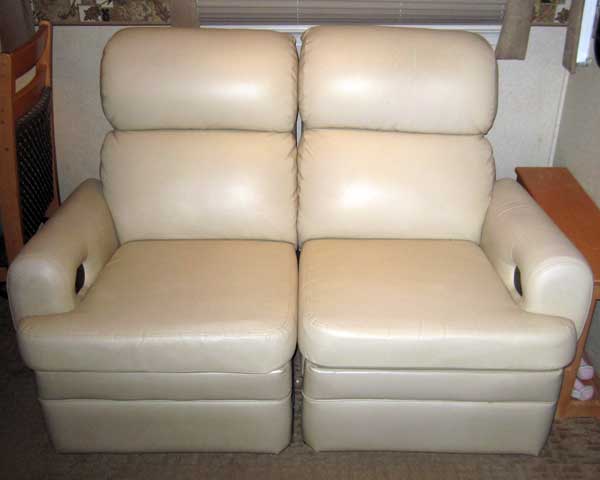
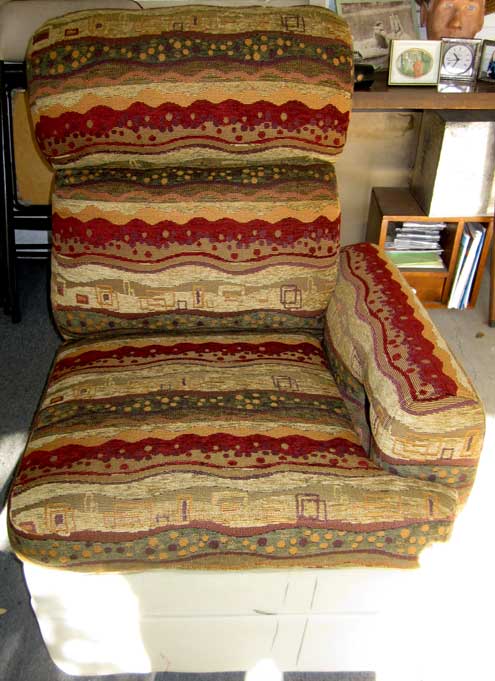
The theater seats as they came from the Carriage dealer

Wednesday, September 28, 2011: My sister Sandy has many creative talents. One of those is the ability to re-upholster furniture. Gwen has always disliked the fabric on our "theater seats". Carriage calls these two chairs theater seats because they attach together at the base but operate independantly. They both recline independantly and of course, they face the entertainment center so can be called "theater seats". Sandy pointed out that the right chair is slightly taller than the left and the horizontal line in the fabric across the chair backs does not match. I hadn't noticed this until she pointed it out. Sandy has an eye for furniture design.
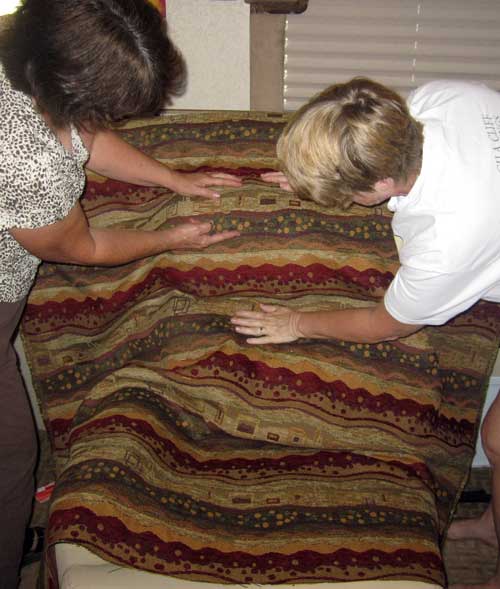
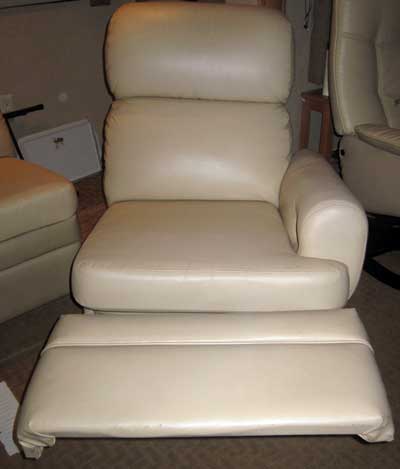
Sandy and Gwen examine the new upholstrey fabric
Before beginning the project, Sandy and Gwen must decide how they want the new fabric to lay on the chairs. This fabric has a pattern which must be matched from one chair to the other and with sides, arms, etc. In this photo, they are deciding which pattern they want in the center of the back pillow. Gwen found this fabric on the Internet after a frustrating experience of visiting fabric stores locally and in Concord, California. We were lucky to find quality fabric at only $10 per yard so we purchased 15 yards which should be enough for both chairs.
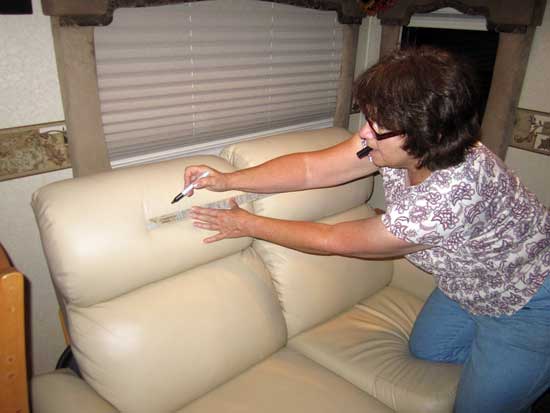
The right chair will be the first to upholster Sandy at work drawing match lines on the old fabric
Thursday, September 30, 2011: The upholstery project continues with the righthand theater chair. This chair is missing a spring so beginning here will give me a chance to figure out which spring is missing, find the matching spring and replace the missing spring. Sandy must mark the old fabric for match lines across the two chairs so they will match the new fabric pattern. The work of removing the old fabric is about to begin. Pass your pointer through the photo on the right to see Sandy at work.
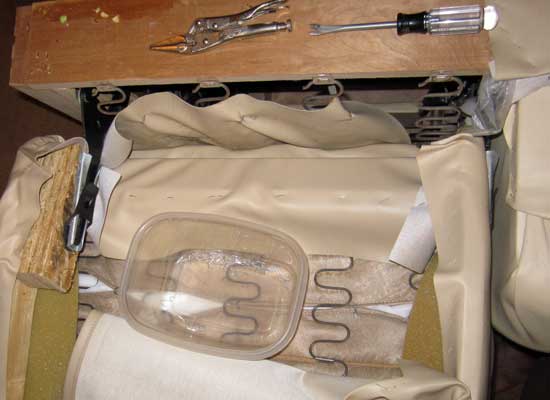
Friday, September 30, 2011: This chair has a heck of a lot of staples which must be removed. We want to use the old fabric as a pattern for the new covering so all staples must be removed. No doubt Carriage built these chairs with an air-powered staple gun (pneumatic) so it was easy to put lots of staples into the fabric and frame in a short time but much more difficult to remove those staples. You can see the staples in the bottom of the plastic container sitting on the back of the chair. It's nice to find a hardwood frame with thick plywood for the back support. The Vise-grip players was my idea but in practice a good pair of needle nose players works better. Click the photo for another view. Removing staples from the old fabric
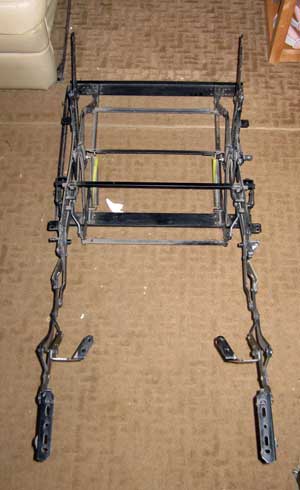
Chair metal frame with recliner extendedTesting the pattern match
Thursday, October 13, 2011: My sister Sandy continues to spend hours fitting and matching the new upholstery for our theater chairs. I stripped the right chair down to the raw metal frame. The Oak frame bolts to the metal frame. The new upholstery fabric pattern must match back, cushion and arm. Additionally, the fabric has two little over lapping squares you see at the very top of the chair back and bottom right of the back. They occur on the right hand side of the back which means the left chair must be the mirror image of this pattern. So far she is just fitting and matching, we are almost ready to begin stapling. Click on either photo for additional views.

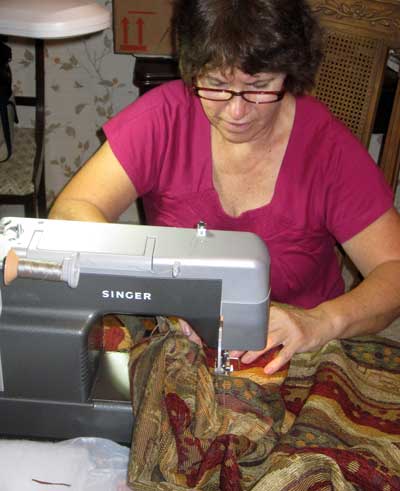
Sandy working at the sewing machine


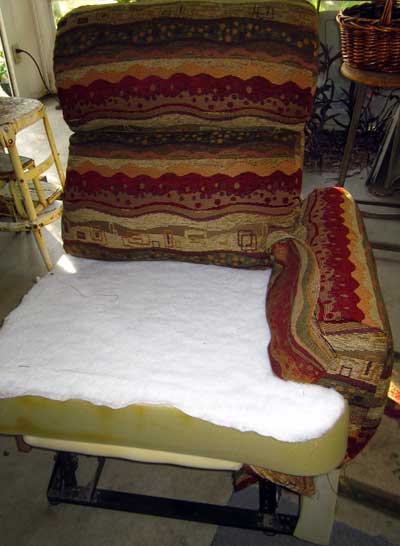
Wednesday, October 19, 2011: Sandy is at it again ... sewing on the arm and cushion. She worked on the chair all day, I helped in the afternoon. We've actually begun stapling the new fabric to the frame. Sandy is a perfectionist so everything must match perfectly. It is really beginning to look good. Click the photo for another view. The photo above was just to get an idea of the match of the fabric, we just layed the fabric on the chair. The cushion is actually encased in the bating and fabric for back and arm is stapled to the frame as of today.

First chair nearly finished


Wednesday, November 30, 2011: After a long break due to our father's death, my sister Sandy has nearly completed the first chair. I've inserted and mounted the release mechanism for the leg support below the seat and currently uncovered. The mechanism is located on the inside of the arm, hence the indentation in the arm. The only project remaining for this chair is the covering for the footrest below the seat. You pull the lever and the chair reclines and foot/leg - rest extends. This is going to look wonderful in the trailer.
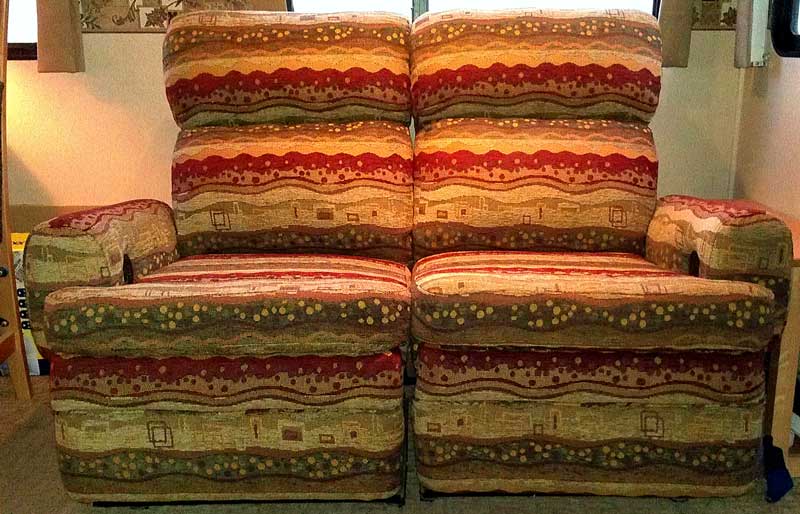
The project is complete
Wednesday, December 14, 2011: The project is finally complete. After many Tuesday evening and Wednesday day work sessions, Sandy has completed the project. What a difference from those old ugly theater seats which came with the trailer. This was a lot more work than I had first thought. I've re-upholstered a couch, chair and two sets of airplane seats in a previous lifetime but this job was far more complicated and much more professional than anything I've ever done. Gwen is happy and that's what really matters.
 
 
Return to RV Trips Copyright, 2011 by RVeCafe.com