 |
RV Window Re-Seal |
 |
"Honey, I smell something damp and moldy" ... not what you want to hear on a rainy afternoon. After searching for the problem we found a wet area of the carpet in the back corner of the fifth wheel. I had noticed that a good rain storm would sometimes leave a puddle of water in the window sill under the back left window. |
 |
|
|
|
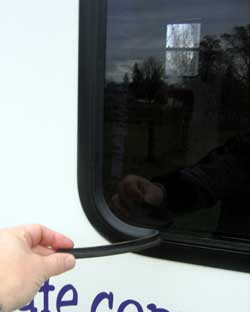
I had not paid much attention to this because there never seemed to be enough water to do any damage but this seems to be the only place where water could leak into the coach near the back corner. I gently pulled on the rubber trim and found that it could easily be removed. The trim was in three pieces. |
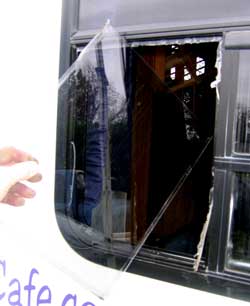
| The window is fit perfectly into the window frame with sealer. The old sealer had disappeared at the bottom of the window and was not in good condition around the rest of the window. I gently pushed the window out from the inside until I had enough to take hold when standing outside. Once I had my hands on the glass, I could remove the whole window. |
 |
| |
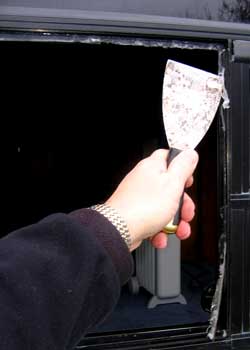 |
The old sealer must be removed before applying new sealer.
Note: you are seeing the little radiator style heater in the trailer. This is the style we have learned to like, they do a good job and are noiseless. Two of these 1,500 watt heaters will keep the trailer 20 - 25 degrees warmer than the outside air temperature. |
| |
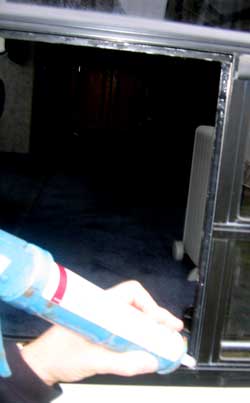
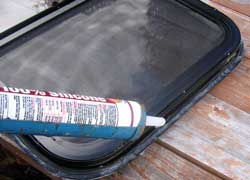
Once the old sealer is removed, I used clear silicone sealer around all edges of the frame. After cleaning the window, I pressed it into the frame against the sealer. You can see the sealer spread and seal all edges through the glass. |
 |
|
|
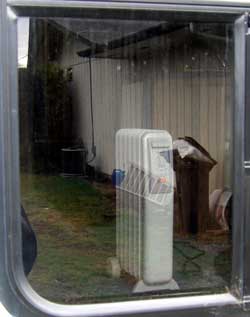 |
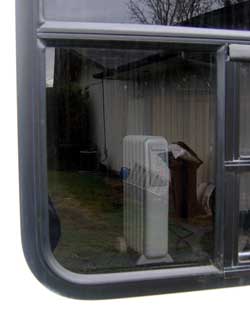
Once the window is pressed into the frame, it was surprisingly easy to replace the rubber trim by pressing into place with my thumbs. Yes, the reflection of the house and garbage can is easily seen in this photo. I don't expect to have a window leak problem at least with this window. The window on the opposite side seems loose so I'll probably reseal it too ... soon. |
| November 11, 2006: After rain all night, I've notice a very damp carpet near the inside corner of the bedroom slide. I'm looking at the window, at first thinking the window was slightly open but later decide it is more than an open window. I've been searching since this summer for the source of water inside the wall of this slide. During the summer I found |
 |
|
 |
the bottom panel of the slide sagging but dry. This seemed to say water was causing damage from inside the wall. |
|
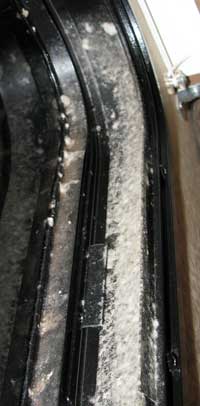
| I examined the roof and found no signs of leaks but decided to seal the one seam with Eternabond tape anyway. Finding all this water around the inside of the window and the sagging panel is very wet, I decided it must be a leaking window. The window was easily removed by backing off the screws on the inside of the window frame. Gwen and Annie loosened the last two screws while I removed the window and examined the slide frame. The plywood on both sides of the frame looked wet but undamaged. I sealed this frame with silicone. |
 |
|
|
|
|
|


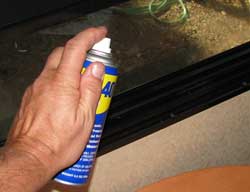 s of WD-40. First I learned that the "WD" means "water displacement" and this is the 40th formula they tried which finally worked. The