 |
Removing the TV in our RV |
|
|
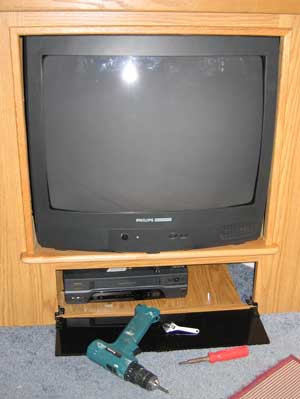
| Our recreational vehicle manufacturer installed a large 27" television in a lower, end, kitchen corner cabinet facing the rear of the coach. The intention was for the two RV owners to sit in the two recliners at the rear of the coach to view the TV. The furthest you can get from this 27" screen is about five feet. It was obvious to me that this size TV was installed to help the salesman and not for practical use. Gwen |
 |
|
| |
and I do not watch much TV, in fact, we have no TV reception during our full time RV experiment. Gwen and I would prefer to use this area as a computer station (I'll show the changes for this purpose in a later Web page). We also have a different idea for a TV in the kitchen and living room area (when we add that feature, I'll show this "high tech" improvement on a later Web page too). I've tried several times to remove the TV but it is crammed into this cabinet so tightly, it won't move (at least that's what I thought). I posted a message to one of the RV |
 |
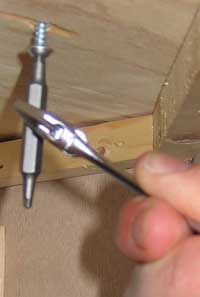 |
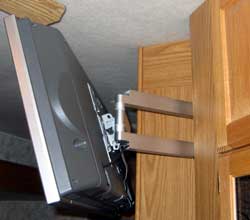
forums to learn if anyone else had figured out how to remove the TV. From the response to my questions I learned to expect screws to be securing the TV shelf from the VCR cabinet and once the screws were released I should be able to slide the TV shelf forward then remove it. Fortunately there were only two screws to remove but the space is |
| |
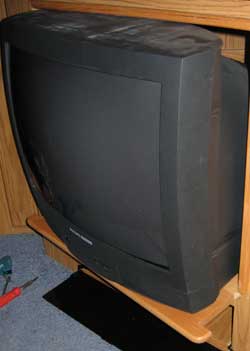
so tight in the VCR cabinet that I had to use the removable tip from one of my adjustable screwdrivers. Additionally, the screw had a square drive. I used a small adjustable wrench to release the screw as you can see in the photo above. Once the two screws were released the TV shelf slid forward in the photo to the right. |
 |
| |
 |
Of course, Annie was ready to investigate this new space and had soon climbed into the hole in the wall behind her. This hole took her into the space behind the water heater. As it turns out, the TV is mounted to this shelf with four screws. No wonder I could not budge it. |
| |
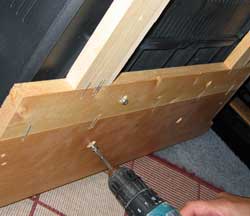
As you can see this was some-what of a "funky" shelf with two arms stapled to the main body to support the back portion of the TV. Why waste good material where it will not be seen unless the TV is removed. I used my cordless drill to remove the shelf from the TV. |
 |
| |
During our time at Howard Prairie Lake Resort the other staff go out of their way to be helpful and friendly. Jimmy always makes sure our propane tanks are full so we gave this TV to Jimmy in appreciation. |
| |
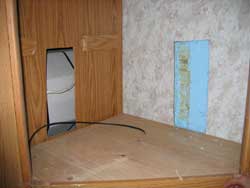 |
If you look inside the TV cabinet you can see that the installer had to trim away part of the outside wall and wall to the water heater to get this huge TV to fit the cabinet. I'll repair both of these walls using |
| |
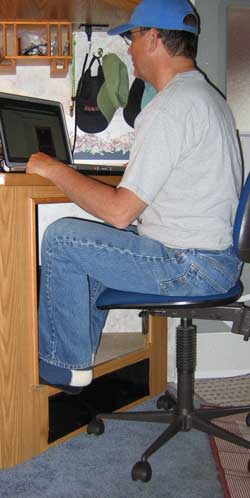
the same beadboard paneling I used in the bedroom remodel. I'll also add some under counter shelving for book storage plus a sliding keyboard tray to make the right height for the keyboard and document all this in future additions to this page. Just doing this much has decreased our clutter because we were always having to clear the laptop from the dining table before a meal. |
 |
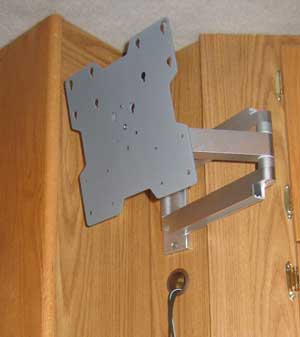 |
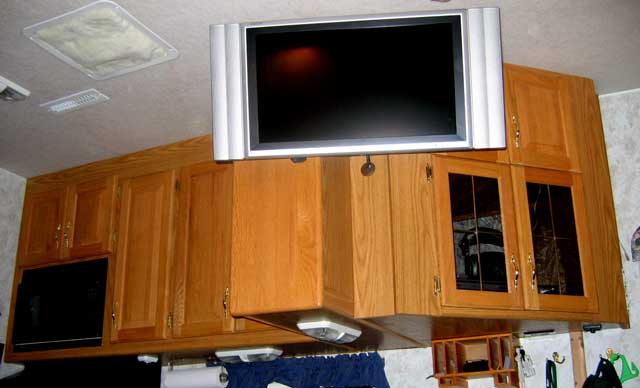
May 2, 2006: It's been more than a year since the TV was removed and we have done without except for the little closet TV in the bedroom and for watching DVD movies on Gwen's laptop. After saving dimes for a year and selling old equipment on eBay for 3 months, I have saved enough to purchase what my original plan called for, a Sharp 26" Aquos LCD TV. It weighs an mere 26 lbs and is 16-1/2 inches tall, 4-1/2 inches deep and 33-1/2" wide. This is to replace the ackward, heavy 27" TV above. We made that spot into a computer area. This is a Peerless, very heavy duty, articulating mount purchased from Costco.com. |
|
I chose this mount because I wanted something very heavy duty, this one will support 80 lbs. I figure a 26 lb TV in a moving trailer may need extra support. Of course I plan to tie-down the TV, but that will come next fall.
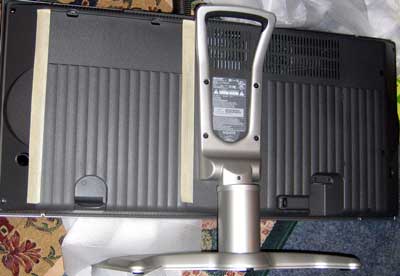
The Sharp, 26" Aquos LCD TV came with a stand which must be removed for hanging. |
 |
|
 |
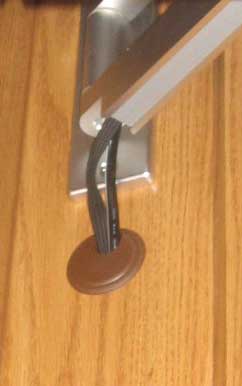
You can see the four screws (on the stand) where the Peerless wall mount will be attached. The Peerless did not come with bolts to attach to the cabinet so I purchase them at an Ace Hardware store. I also purchased a heavy piece of sheet metal for the inside wall of the cabinet. When I drilled a 1-3/4" hole for the computer grommet I discovered these cabinets are good quality 3/4" plywood rather than particle board as I has suspected. |
|
| I also used extra large washers with the sheet metal on the inside of the cabinet. I feel very good about the strength of the cabinet to support this 26 lb TV on an articulating arm. Note that the wires pass through a hidden wire compartment between the computer grommet and TV. Gwen and I watched our first movie on the Aquos last night. The TV worked great but the movie was poor so we did not finish watchin it and went to bed instead. The bottom of the TV is above my head so only someone 6ft 2 inches or taller needs to worry about ducking. The DVD player and other controls are in the cabinet to the right. You can see the microwave to the left. I'm taking the photo from the couch in the living area. If needed (during football), I can turn the TV to face the kitchen table. The TV is attached to the home theater system. |
 |
|
 |
| May, 2007: The television is removed and reinstalled into the new Cameo. Click here for the story. |
|