Click to Return to RVeCafe Homepage

Building an RV First Step

 
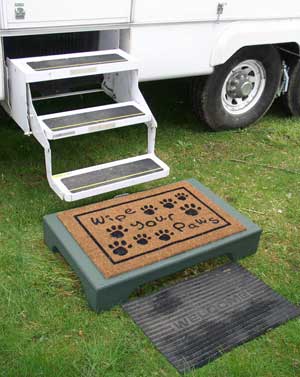
We needed a first step for our fifth wheel entrance because the drop-down steps are high and awkward. My solution was a home built platform that is wide, light weight and easy to transport to the next location. I think it is a good idea for any recreational vehicle, RV park or campground. This made a nice "RV Accessory". My completed platform step to our fifth wheel.
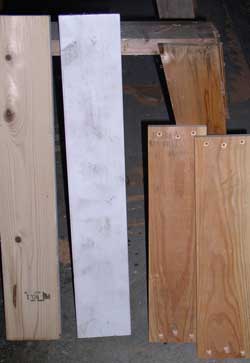
  Lumber is 2c8" fir I try to make my projects for the raw materials I already have on-hand. In this case I had 2x8" fir as the base. The size of the box was a size to fit the door mat we had purchased for this purpose.
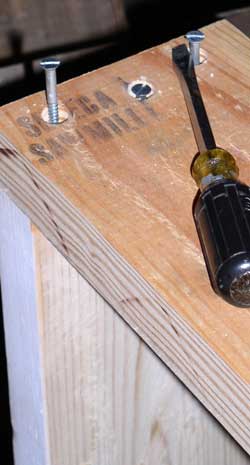
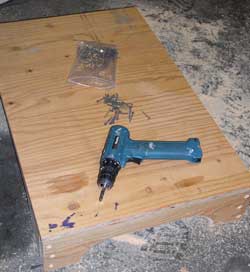
I predrilled and countersunk 2.5" screws to hold the pieces together while the glue dried. I used a 1/2" drill to countersink the screws so I could fill the countersink holes with a plug. You'll see this in later photos. I hate slotted screws but I had them on-hand. Countersink the screws
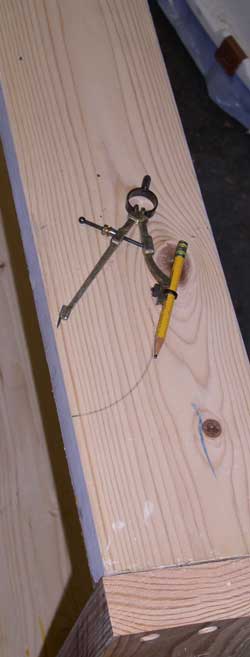
  Compass lines to follow I wanted the platform to have "legs" so if the ground was uneven it would be easier to level. I'm using a compass to create the line to follow for my sabresaw to make the cut.
  I'm connecting the two compass lines. Connect the compass lines
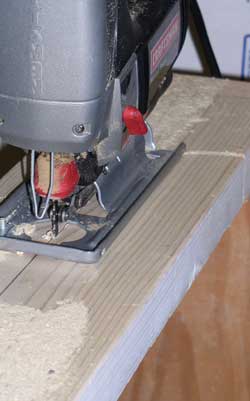
  Sabresaw used to cut between the compass lines. Cut between the compass lines. This will make an easy set of "legs".
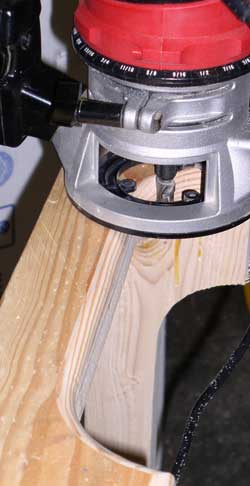
  A routered edge give a finished professional look. Router to give a finished professional look.
  3/4" exterior grade plywood used for platform top Use an exterior grade, 3/4" plywood for the top. I used drywall screws and glue to secure the top to the base.
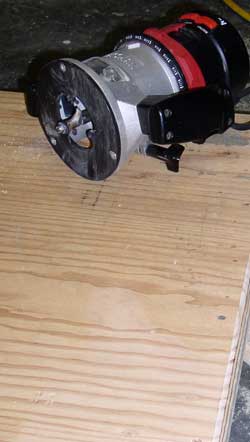
  Off course the top is routered for a finished look. Router the top edges
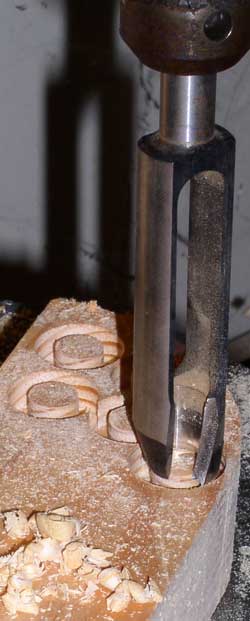
  Creating the 1/2" counter sink plugs I happen to own a 1/2" professional plug cutter. You can buy an inexpensive plug cutter at Rockler.com along with many other hard-to-live-without-tools. Plug cutters are great because you can cut the plug from the same wood source as the project. In this case it doesn't matter because I will paint over the plug but in a nice hardward project, you can carefully cut the plug to match the grain of the wood in the project.
Rockler always has some sort of
Internet special
on their selection of hard-to-find tools. I love "window shopping" and occasionally ordering so I've provided the link above so you can check their specials.


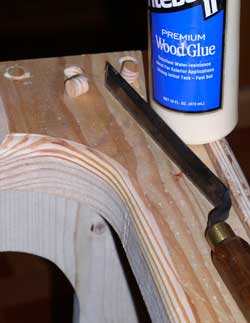
Don't worry about the height of the plug. You will use a chisel to make the plug level with the project. Glue is used to secure the plug in the hole. Glue secures the plug in the hole
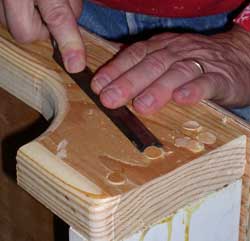
  Slice the plug flat Hold the chisel flat against the project and "slice" the plug flat to the project.
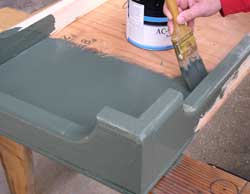
  Paint the platform. I'll probably be sorry for not using a primer but I was in a hurry. Paint the platform
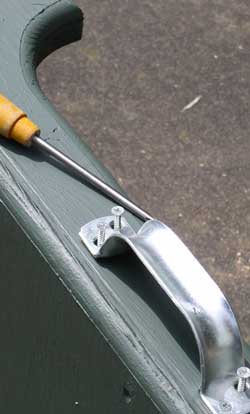
  Add and easy carry handle I added an easy carry handle which makes the platform easy to move. I also wanted to keep the wood off the ground so added plastic glides to the bottom. The screw type would allow you to level the platform on uneven ground.
Monday, September 28, 2009: The above platform (step) was created for a different fifth wheel than I currently own. It was also created when I had tools and a garage to work in. So now we have the same problem with our current fifth wheel. The steps are too high off the ground after flipping the axles. While at the 4th annual Balloon Rally, our friend Ed showed us the simple step he had. He bought an aerobic stair step made for aerobic exercise class. It was light weight, inexpensive and height adjustable. The modern step/not homemade
From the top Gwen found this stair stepper at Walmart which will work perfectly. It can be height adjusted for a 4" or 6" height. We are currently still on the ranch in Montague, California after the Balloon Rally so we need only the 4" height. It has two tie locations in the center of the step where I will make rope handles.
Return to RVeCafe Entree Copyright, 2004 by RVeCafe.com