|
|
Install a Ceiling Fan
|
 |
| July
1, 2006: Installing a ceiling fan may not sound like something an
RVer would be doing but when you are visiting your son in Reno, Nevada
... you do what the son wants done to his new house. |
 |
|
|
|
|
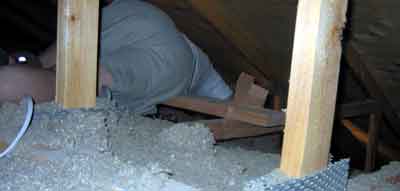
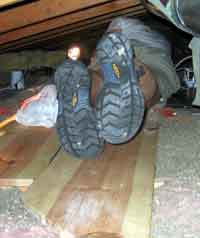
When
installing a ceiling fan you must first find the power for the fan. In this
case, Ben wanted the fan in the center of the living room where no power
currently exists. Fortunately I found a handy junction of several wires
where one was hot. My brave helper is my daughter Mindy who volunteered
to climb into the attic with me. We both wore masks because we did not |
|
|
| want
to breath the fiberglass insulation dust. Installing the fan in the living
room required crawling over the peak of the vaulted ceiling and down the
other side. The insulation had to be cleared from the area of the ceiling
where the electrical box will be installed. Once the ceiling is marked next
to a rafter, Ben will cut the hole for the box. While he cuts the hole,
I run the wire to where the box will be installed. |
 |
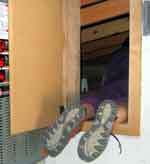 |
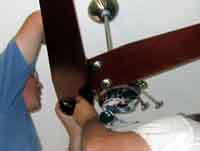
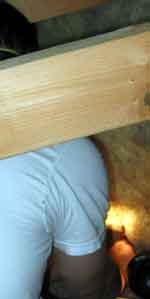
With
the hole cut and wire run, the electrical box is installed next to
a rafter and support beam attached over the electrical box. With all
the attic work done, Mindy and I exit the attic through the small
entrance hole in the garage. Next, Ben and I begin the installation
of the fan in the living area. The motor is the first to be hung.
|
 |
|
|
|
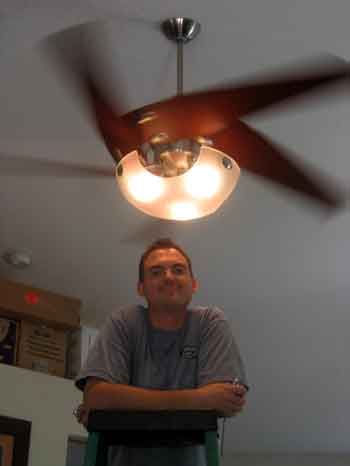 |
This
fan comes with a remote control so no power is needed to the control
switch for the fan. The remote control sets the speed of the fan to
one of the three speeds. It also turns the light on or off. Finally,
it will remotely reverse the fan for winter or summer operation. Ben
and I can't wait until Kim (Ben's wife) returns home from a vacation
with her parents to see what the three of us have done. We love the
way if looks and works. |
|
|
|
|
|