|
Replace the RV Stereo with
a Home Theater System
|
 |
March 25, 2006: Today is the day to start a new project in the fifth wheel. Our 33 foot King of the Road fifth wheel came with a fairly nice, 3 CD disc changer and AM/FM Stereo Receiver by Magnavox. Since our plan is to live in the RV full time beginning in only 2 weeks, I would like to move our home theater system into the RV replacing the Magnavox stereo. That means replacing the existing 3 ohm speakers with the theater system 8 ohm speakers. |
 |
|
|
|
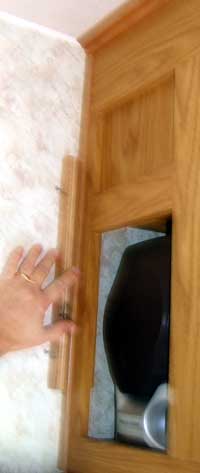
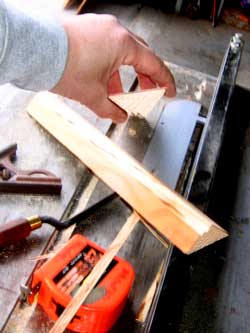
These long slender speakers will easily fit into the corners of the trailer on two mounting screws but these screws must be exactly right for the speakers to hang correctly. I made a simple jig by drilling two screws into a board (photo above) so the points come out the back side of the board in exactly the right distance to match the screw mounting holes. I then match my board to the exact location I want the mounting screws and press against the board to mark my two starting points for the mounting screws. Note the old speaker in the upper cabinet. |
| I pulled out the old speaker and cut the wire attached to the speaker. There is still plenty of wire to attach to the theater replacement speaker. |
 |
 |
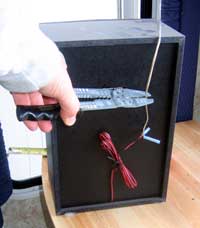
I attach the speaker wire to the new speaker and hang it on the two mounting screws. Now there is a new usable shelf where the old speaker was sitting. I suggested a plant with hanging branches, but Gwen sees it as another place for books. The wires will not be visible after we decide what to do with this extra space. After the two existing speakers are replaced, two more speakers this same size will be needed in the living area . This Panasonic home theater system has a total of six speakers. |
| |
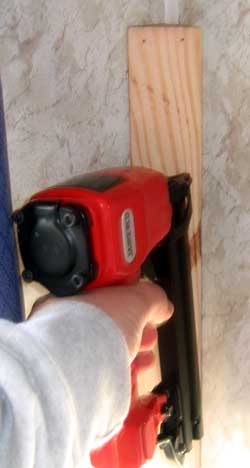
March 26, 2006: The next two speakers need to be mounted in the corner of the living room and corner of the dining area. I need a mounting board put into the corner to attach the mounting screws for the speakers. It must be cut at a 45 degree angle. |
 |
| |
 |
The corner has some rubber molding which makes the mounting board stand away from the wall so I notched the mounting board to fit flush with the wall. |
| |
I did not want to glue these mounting boards into place so used my air powered nail gun. I don't know how carpentry was done before the invention of these guns. |
 |
| |
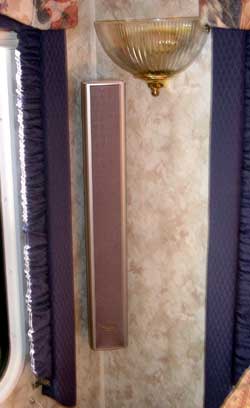 |
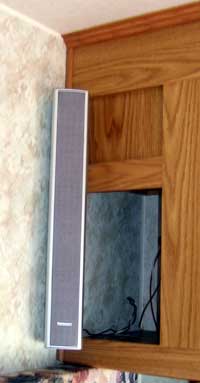
The speaker slides into place on the two mounting screws as was done for the first two speakers. |
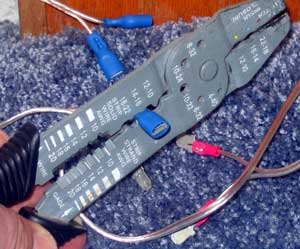
| When the speaker wires connect to the two speakers in the living area and dining room, the wire passes into the slide. When the slide comes in, the wires must be parted to allow the slide to come in without breaking the wire. I fit the ends of the wires with connectors and added a sign above the slide switch to remind the operator to disconnect the speaker wire before operating the slide. |
 |
|
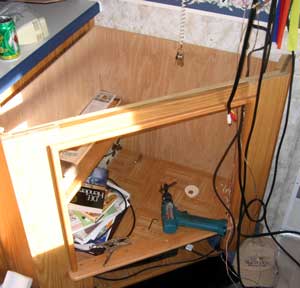 |
April 8, 2006: This has been a very long day just running wire to connect the two parts to the home theater system from the bottom cabinet to the top cabinet. There are many heavy wires which must connect these two pieces and no easy way to run hidden wires. I took the counter top off the old TV cabinet to be able to notch the counter top for the wires. The VCR is in the cabinet at the very bottom and that's where the TV coax enters the trailer. Wire must run from that |
|
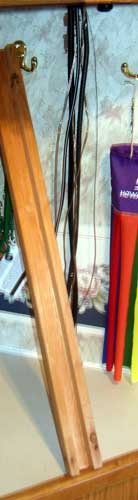 |
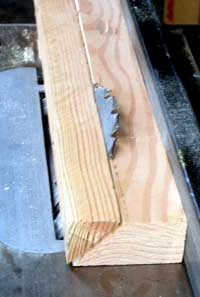
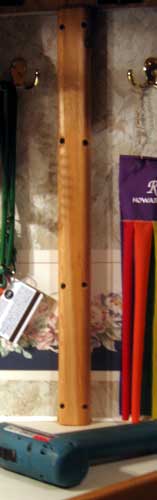
cabinet to the top cabinet where the old stereo system was. Take a look at all the wires to the left. These are TV coax, video cables, speaker wires and the heavy control wire which connects the two parts of the theater system. All must run from bottom to top, hidden. I used left over cedar from the entrance deck I built to make a large, hollow molding to hide the wires. You can see the hollow molding on the left, I used dado blades on my tablesaw to make the hollow portion. On the right, you can see I mounted the molding with screws. It hides all the wires nicely. |
|
 |
| I started this project at about 2pm and did not finish until 9pm. It was very time consuming because the counter top and parts had to be removed and all the trouble in carefully notching the counter top and upper cabinet to allow a large plug to pass through a small opening. I also installed a computer desk grommet in the floor of the main bottom cabinet to allow the wires to pass into the VCR compartment. The speaker wires are still not installed. I figure I can do that when I arrive at the lake. I also need to attach both the AM and FM antennas to the theater piece in the upper cabinet. |
| |
|
 |