 |
Installation of Satellite
Internet .. part 2 |
 |
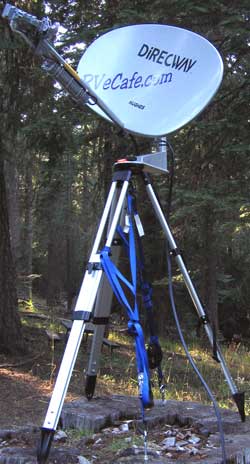
That brings us to the satellite location. Glenn found a great tree stump in just the right location and suggested we plant our tripod on the stump. At first I thought he was joking but, no, this put the dish high and gave us an anchor to fasten our tripod. |
 |
|
|
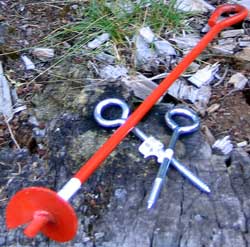 |
Since the center of the stump was hollow and filled with dirt, I chose to buy two eye lag bolts for fasteners. I also purchased an eye auger to be ready for future installations on the ground. I would use this as an anchor point in the center of the tripod. |
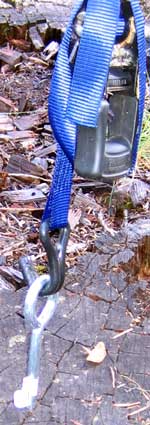
Glenn suggested I use my ratchet tie down straps connecting one end to the eye lag in the stump. |
 |
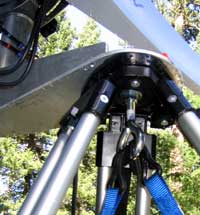 |
And the other end to the large 1/2" eye bolt under the base of the tripod. This made the whole system very solid. |
| |
 |
| |
It is important to have the tripod level on two axis. This will make installation of the dish and fine tuning of the signal much easier.
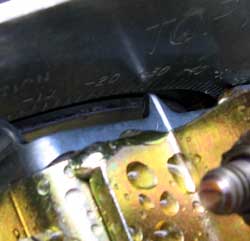
Step one is to get the suggested skew, elevation and azimuth from the modem software. For my GPS reading, my Skew
|
 |
| |
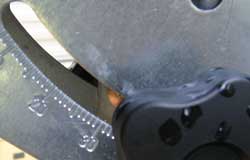 |
was -32°, elevation of 31° and azimuth of 118° magnetic. The skew is set first, then elevation before the dish is set upon the offset adaptor. Glenn instructed me to begin to the left of the |
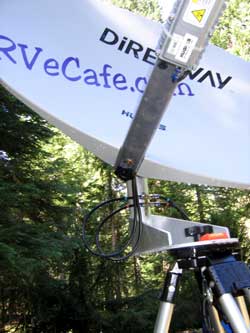
azimuth indication and slowly swing the dish to the right while watching the OPI meter shown below. I'm looking for a reading above 31 to indicate that I am getting a signal from the correct satellite. When we continued to get a signal of "29" after a couple of passes, Glenn "reset" the modem and we began to get 09, 10 and 11 readings which Glenn said was good. This time, I picked up a reading of |
 |
| |
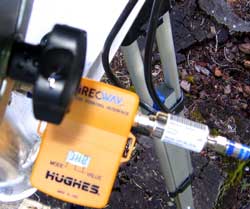 |
45 - 60 in one short pass. This is when we began the fine tuning with the elevation tool. The fine adjustments to skew for crosspol were made easier because of the Terry Cannon bushing kit. |
| |
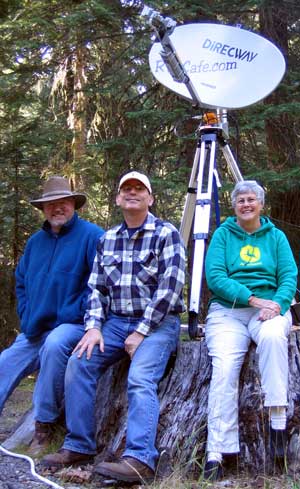
Glenn promised I would get much faster at this whole operation as I had more practice. At this point I was thrilled that everything had gone as smoothly as it had. Now I just wanted to get the cable into the trailer so I could see the Internet again. Glenn and Sheila joined me to pose in front of the new RVeCafe.com dish. |
 |
|
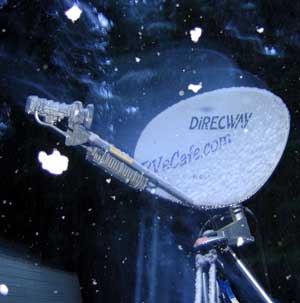 |
Update: September 23, 2005: This morning we were getting no signal from our dish. On investigation I discovered it was snowing. I figured we couldn't get a signal through the snow storm but wiping the snow from the dish and horn restored the signal. |
|
|
| |
Return to Part 1 |
|
| |


