|
|
Changes to the Cameo
page 4 |

|
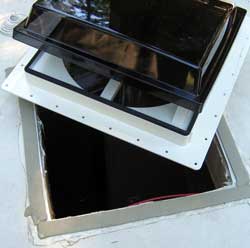
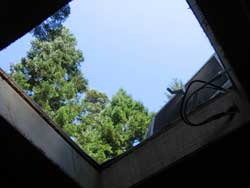
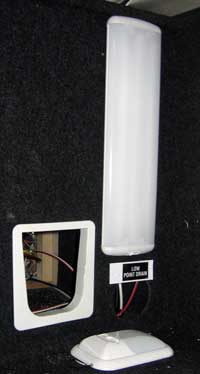
| July 7, 2007: I have chosen to remove the "eggbeater" style vent and fan from the bathroom and replace with a ShurFlo Comfort Gold Series Fan. Moisture is a trailers worst problem and I want to keep the moisture moving |
 |
|
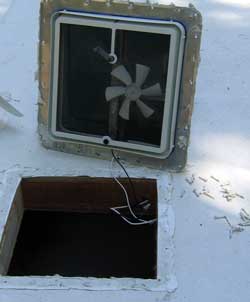 |
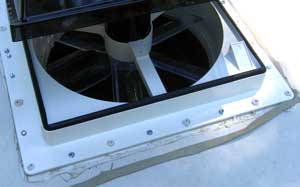
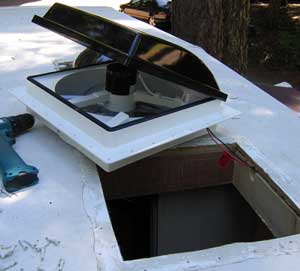
out of the trailer. The eggbeater fan moves a lot of air but is noisy and has only one speed: "on". The ShurFlo fan has a variable speed control to move air slowly and quietly or can move up to 900 CFM. The old vent and fan must be removed first. All screws are backed out and a thin bladed spackle knife separates the old vent from the roof. |
|
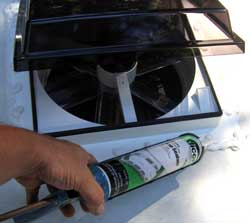
| The instructions state in 4 places to be sure the hinge is facing forward. It seemed a no-brainer to me. It was also very important to connect the positive lead to the red wire on the fan. A putty roll is used to seal the underside of the vent housing. |
 |
|
|
|
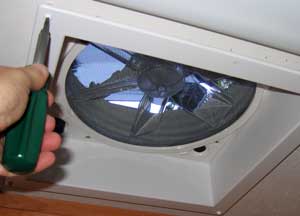 |
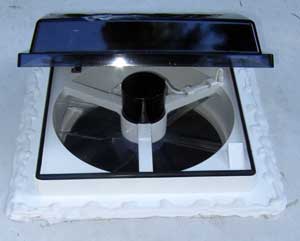
After the screws are tightened, the putty ooze is trimmed away and discarded. DiCor Lap Sealant is applied to every screw and the vent housing edge. The interior trim requires only four screws and is installed quickly. The Gold series fan is reversible, has a manual dome lifter knob and variable speed control knob. Both |
|
| Gwen and I can easily reach the controls so no need for a remote control. The Gold Series fan is about half the price of a Platinum fan because it does not have the remote. It works nearly silently at low speed and does exactly what I was hoping for, moves air quietly. |
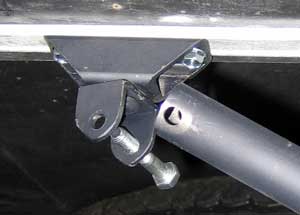
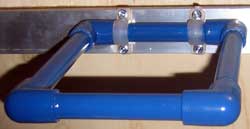
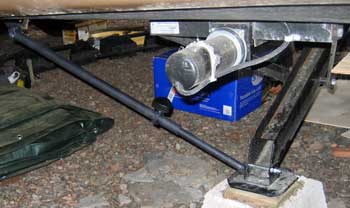
| July 13, 2007: After installing the front stabilizer rods, I chose to install the rear stabilizer rods as well. The rear rods were easier to install or perhaps, my experience with installing the front rods helped to make the rear installation easier. |
 |
|
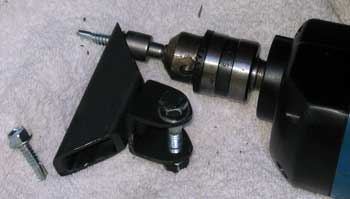 |
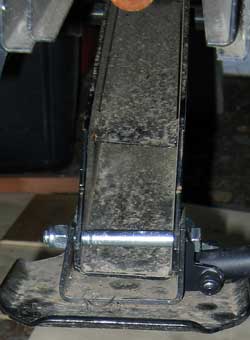
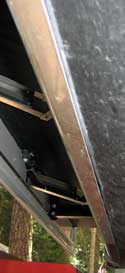
The bracket connecting to the frame will allow the rods to pivot in two directions since the stabilizer foot travels in an arc rather than just up/down. Drill point screws are driven with a drill and nut driver into the steel frame. The large rod is mounted to this frame pivot mount. |
|
|
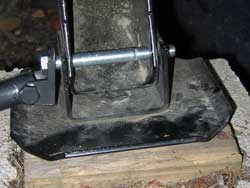
| The foot is connected to the small rod using a bracket with one mounting hole. This pivot bolt used in the foot is the bolt used to connect the bracket to the foot. I slid the bolt through the bracket, then through the foot and used the nylon nut on the opposite side. This allows the bracket to sit flush against the foot brace with plenty of clearance for the small rod to move up and down without touching the bolt head. With the rods connected at both ends, I returned the rear stabilizer jacks to maximum load, tightened the locking knobs on the rods then lowered the jacks slightly to put load onto the rods. |
 |
|
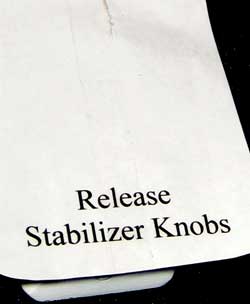 |
Just like the sign I placed over the landing gear control switch, I put this sign over the rear stabilized control switch. I don't want to forget to release the knob locks before operating the rear jacks. I simply lift the sign out of the way to operate the switch. |
|
| July 28, 2007: I installed a fluorescent light fixture replacing the small, single bulb incandescent fixture in the basement. The fluorescent fixture is much brighter and cooler. I would not have intentionally purchased the fluorescent fixture for this location (they are about $45) but I had four on hand from the King of the Road and no place left to install them inside the Cameo. This fixture is on the water/sewer utilities side of the trailer so might be handy sometime when I must install the water/sewer at night. The small incandescent fixture is on the floor of the basement. The cat door is next to the fluorescent fixture. The sign tells that the hole below the fluorescent fixture is to access the low point water drain valves. |
 |
|
 |
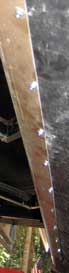 |
July 31, 2007: While climbing under the trailer, I noticed the aluminum lower panel which wraps underneath for the full length of the trailer. This panel had an occasional screw, a total of 6 for both sides. The aluminum panel had a gap of 1/2 to 3/4 inch below the wood trim which holds the undercover. I figure this is a great spot for mud, sand and road dirt to gather over the years. I used self tapping sheet metal screws with flat heads to secure the entire length of the panel on both sides. Now there are 70 screws rather than 6 securing the panel and closing the gap. |
|
| August 4, 2007: I set aside this weekend to polish the Cameo for the first time. I'm using Marine Polish at the recommendation of the Carriage discussion forum. This stuff is advertised to be the slickest polish you can apply. I'm hoping it will make bugs easier to wash off the front of the Cameo. I can tell you, once applied the decals I tried to put onto the Cameo would not stick. The instructions say to put a second coat within 30 days for an outstanding finish where nothing will stick. So that's what I did to the front of the Cameo. |
 |
|
 |
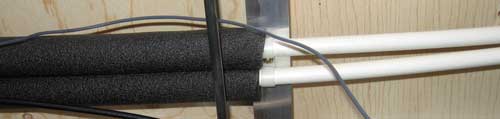
| August 12, 2007: I decided an inexpensive thing to do was to insulate all the interior water pipes. The basement is heated during cold weather so the insulation should not be needed but I decided to do it anyway. I like the idea of protecting the pipes from bumps while loading and unloading and when I take a long shower, the hot water will stay hot while sitting in the pipes waiting for me to take the shower off pause. |
|
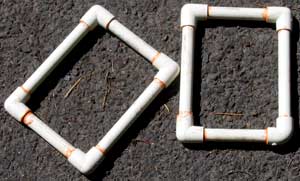
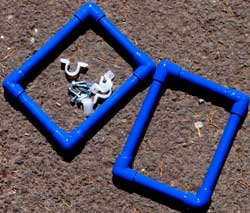
September 2, 2007: I have a folding step ladder which fold to about 5 inches x 6 inches x 7 feet long. I would like to store this in the trailer basement but hanging from the trailer floor joists rather than on the floor of the basement. This will keep my basement floor storage free. |
|
|
| I decided to use half-inch CPVC rather than PVC because of the smaller diameter tubing. I created little rectangles about 6" x 8" as hangers, painted them with left-over paint and hung from the aluminum floor joists. The ladder slides easily into these rectangle holders. Click the photo to the right to see a wider angle view. |
 |
|
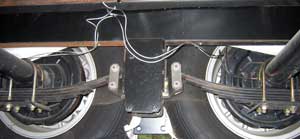 |
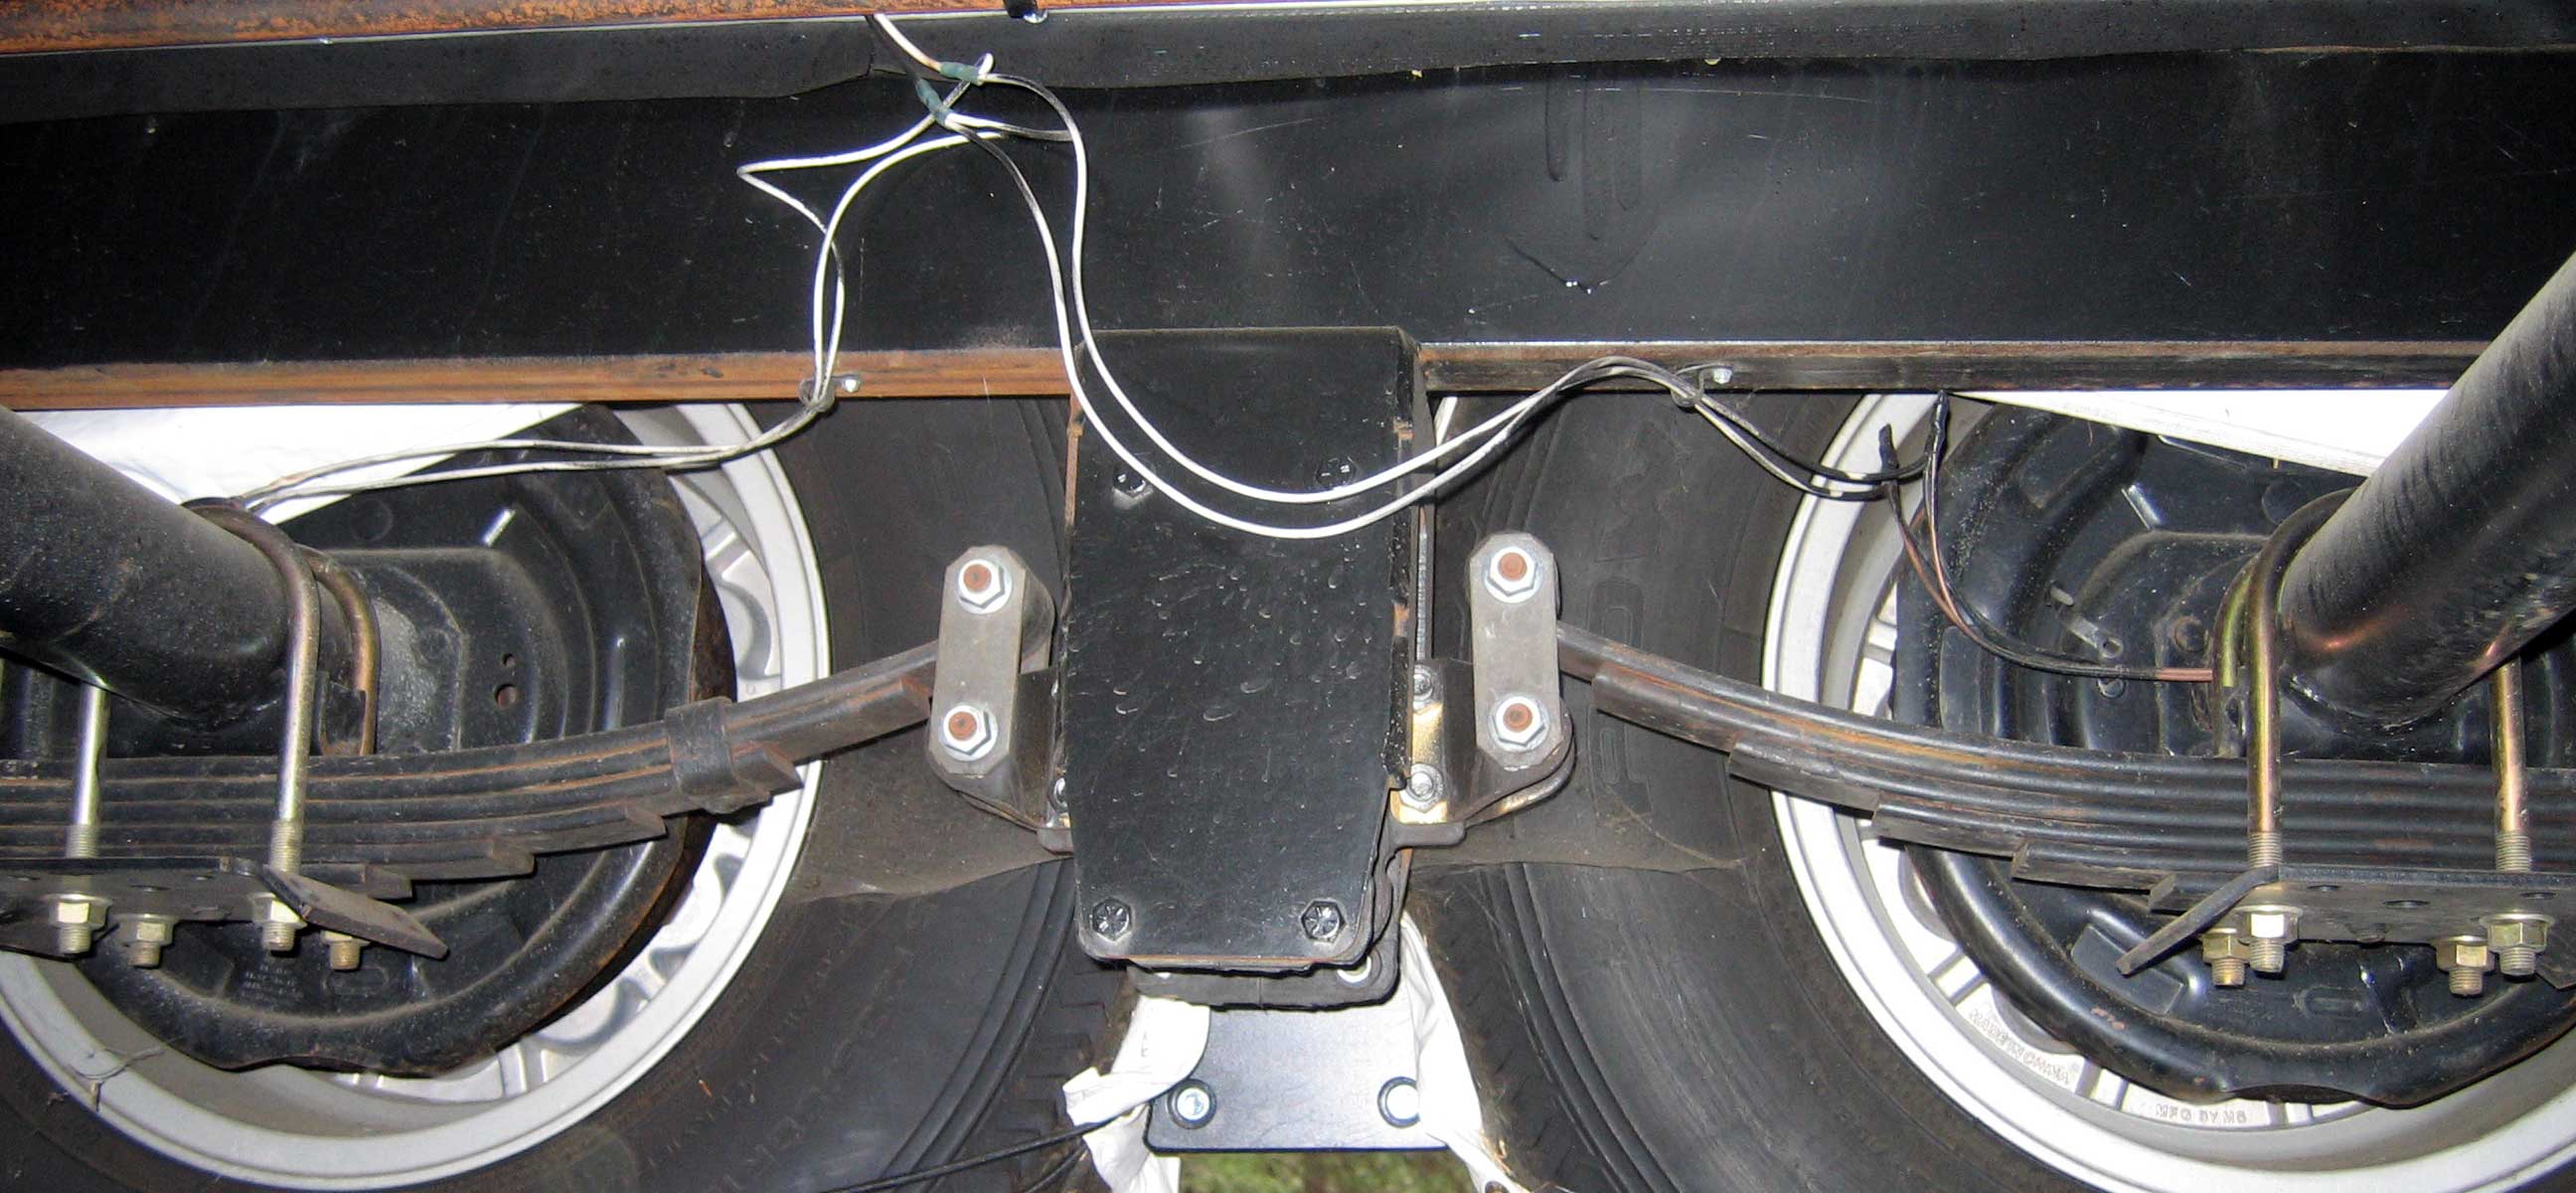
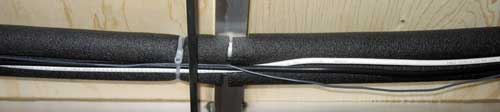
September 15, 2007: While crawling under the trailer to remove the wheel covers, I took this photo thinking there might be a day I need to know what the wiring and springs look like. Click the photo to enlarge. Today's |
|
| activities were to remove the wheel covers, bring the tires up to pressure (all were 10 lbs under), complete the insulation of the interior piping, secure the kayaks and move kayak racks behind the wood pile, pick up around camp and throw out trash. All this to prepare for a Wednesday departure to the Escapees Chapter 37/47 rally. |
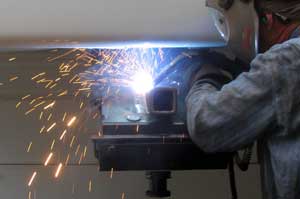
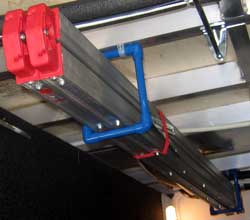
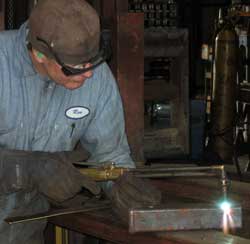
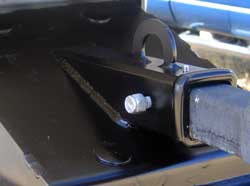
| September 19, 2007: Today is the day we are driving to Montague, California for one of the best Escapees rally's with Chapter 37 and 47. We stopped at a welding shop at the bottom of the Howard Prairie hill to have a 2" receiver welded to the pin box. I did this on the King of the Road to carry our bikes. Ron first must cut an angle on the receiver to fit the pin box angle. He did this with a torch rather than a saw, it was very quick. |
 |
|
|
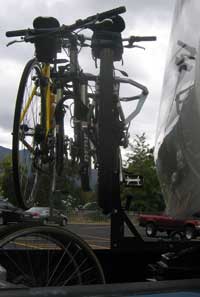 |
The welding to the pin box took less than a minute, then a small loop was welded to the top of the receiver for a cable lock to secure the bicycles. |
 |
|
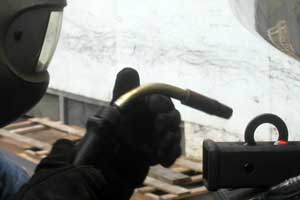
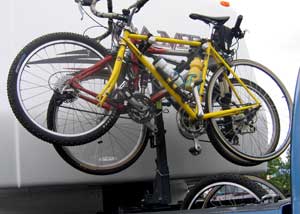
| The bikes are loaded onto the rack when the rack is leaned forward, then all three bikes are lifted as the rack is put back into place. The bikes are safer between the trailer and pickup cab. |
 |
|
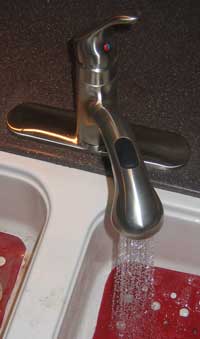 October 14, 2007: A single control handle kitchen faucet replaces the broken original equipment faucet. We had planned to do this at some point but with the left handle of the original faucet broken, we replaced the faucet today. Click to see the whole story. |
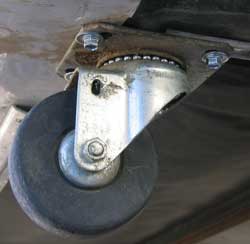
December 20, 2007: I purchased two used swivel skid wheels and mounted to the rear of the trailer. The new price was over $100 but not in stock. The RV store in Benson, Arizona where I purchased the wheels had these on consignment. These wheels were only $30 and seemed OK to me. I know I've scraped the back of the trailer a couple of times but done no damage. I don't want to take the chance, hopefully, these will protect the trailer.
September 10, 2009: This turned out to be a bad idea. These wheels were too small and could not be securely mounted so they were both torn off in a dirt forest service camping area and both sides of the rear fiberglass cap were damaged by the wheels as they were torn off. See flipping the axles below. |
 |
|
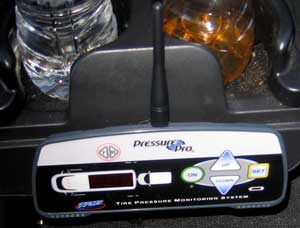 |
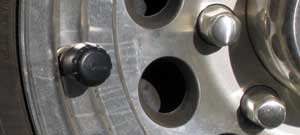
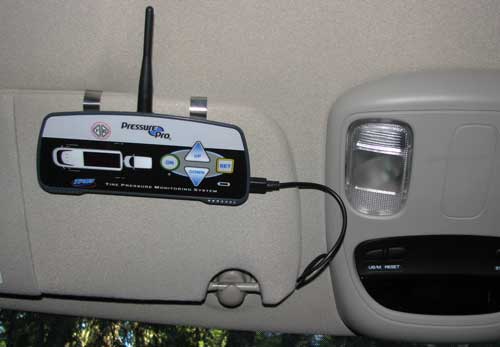
February 25, 2008: Ben and Kim, my son and daughter-in-law gave us a Christmas gift which I used for the first time on the trip to Lodi. This is the Pressure Pro tire pressure monitor system. I'm using it to monitor the tire pressure in the trailer tires as I travel. I figure, I'll know when I have low pressure in Big Blue but I won't know if I'm losing air in a trailer tire. |
|
| An electronic sensor/transmitter is locked to the valve stem of each trailer tire. The receiver in the cab reports the pressure of each tire and will alarm when the pressure becomes 12% low. We have become especially aware of trailer tires because of the problems we had in 2006. |
 |
|
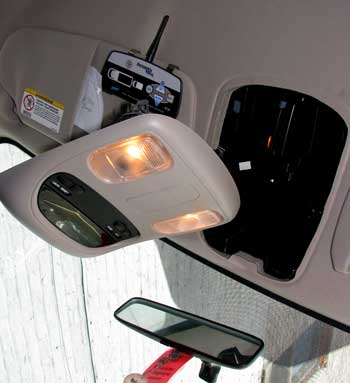 |
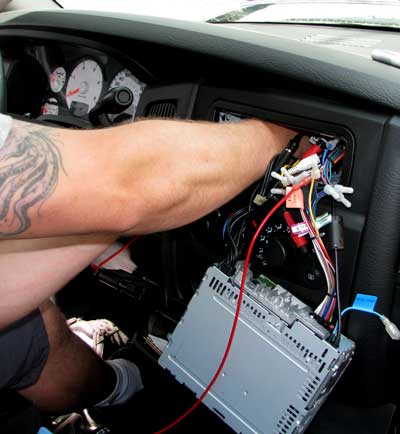
May 29, 2009: The installation above where we put the Pressure Pro receiver at the drink holder did not work reliably. The receiver needed to be in a higher location. It works fine at the visor but then you have the power cord hanging in front of you all the time. Since I was in Grants Pass, Oregon today for a dentist appoint, I dropped my The Music Shop where we've purchased before. They felt they could grab 12 volt from the overhead console, just a quick 30 minute job. As it turned out, there was no 12 volt in the overhead. |
|
| It had to be grabbed from the power cord to the radio and fed through the dash, then up the side column and under the overhead panel. Easy for ME to say. Greg did the job in about 45 minutes. It was interesting watching him work. He new exactly how to run the wire. Now I have power to the Pressure Pro with NO dangling power cords. I had the cord left long so I could swing the visor down without detaching the power cord. |
 |
|
 |
| |
| Return to Page 3 |
|
|
|
|
|