 |
| |
Recovering the RV Bedroom Headboard |
 |
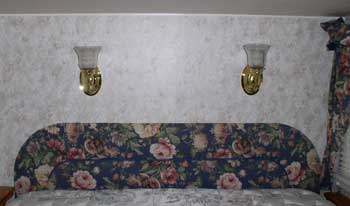
| This is the look of the headboard and bedroom lamps before the lamp remodel and before recovering the headboard. Note the matching curtains to the |
 |
|
|
|
 |
right. Gwen did not like this blue flowered print and worked to recover the headboard and replace the curtains. The trailer was five years old when we purchased it so the fabric was slightly faded. We carefully removed the fabric to use it as a pattern for the next cover. A staple gun |
| |
had been used to attach the fabric to the headboard and to the wall. They were easily removed with pliers. |
 |
| |
 |
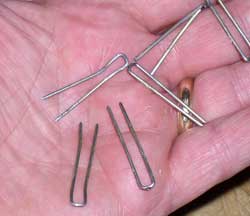
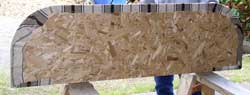
Literally hundreds of staples were used to attach |
 |
the headboard to the wall as you can see in the photo to the right and just as many to attach the fabric to the headboard. All had to be removed. |
 |
| |
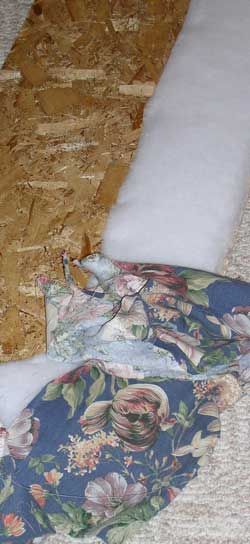 |
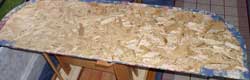
As we slowly removed the staples the bating began to appear. The bating was also stapled to the headboard. We left the bating in place. |
| |
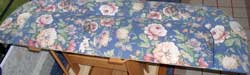
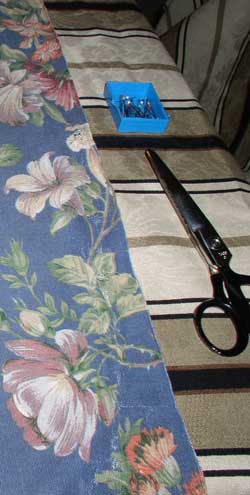
The old fabric pieces are pinned to the new fabric to prepare for cutting. |
 |
| |
 |
The pattern is matched and cut. |
| |
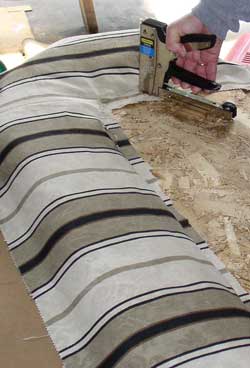
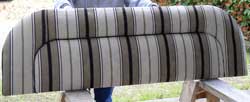
The new fabric is stapled to the headboard. Carefully keeping the fabric snug against the bating. |
 |
| |
 |
Since this is a striped pattern, it must be matched carefully. A black bead will separate the two sections of the pattern. |
| |
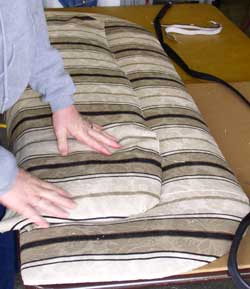
The fabric is then pulled tight and stapled to the back. |
 |
| |
 |
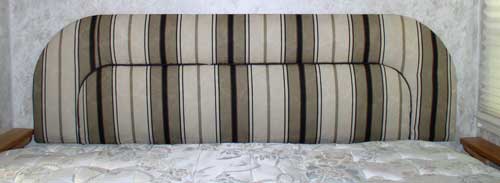
The finished headboard is stapled to the bedroom wall just as it was in the beginning. |
| |
 |
| |
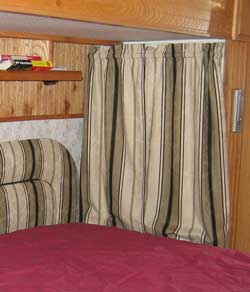 |
With matching curtains the blue flowered patterns have left our bedroom forever. Note one of my gadgets hanging on the bedroom slide, the electronic alarm-weather station. |
|